Calisthenics · Updated 2026-09-16
Front lever progression: five steps from tuck to full lever
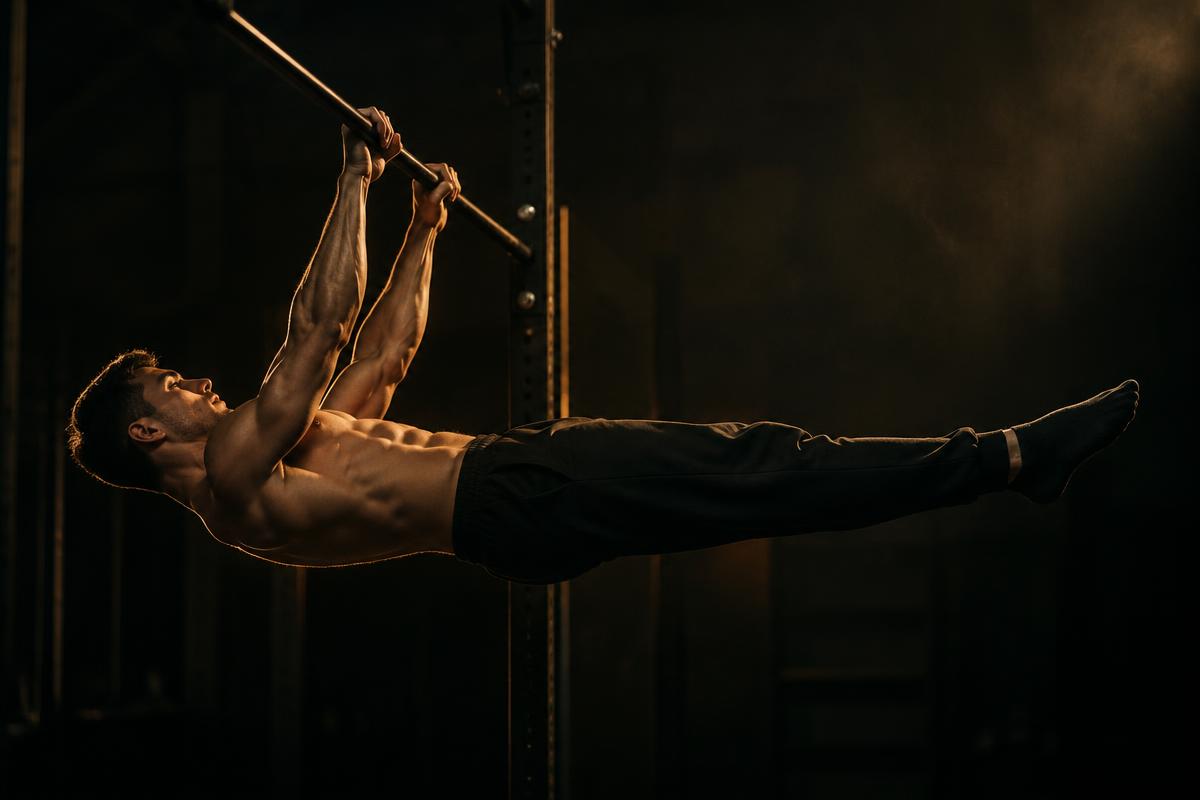
A front lever progression moves through five holds: tuck, advanced tuck, single-leg, straddle and full lever, each held for 10-20 seconds before you advance. Progress comes from time under tension in a straight-arm hang, not from more pull-ups. Most people starting with a solid pull-up base reach a straddle lever in three to six months and a full lever in eight to fourteen.
Why the front lever is mostly a back exercise, not an arm exercise
The front lever asks your lats, low back and core to hold your entire body horizontal under a bar with straight arms. The arms mostly stay locked — the work happens in the shoulder blades pulling down and back and the core resisting the pull toward the floor.
That is why grinding out more pull-ups rarely gets you a front lever on its own. You need static holds at long lever lengths, which is a different stimulus than concentric pulling.
The five-step progression
| Step | Position | Target hold | What it trains |
|---|---|---|---|
| 1 | Tuck front lever | 15-20 sec | Core-to-bar connection, first straight-arm pull |
| 2 | Advanced tuck | 12-18 sec | Longer lever arm, same tuck strength |
| 3 | Single-leg lever | 10-15 sec per side | Asymmetric loading, hip control |
| 4 | Straddle lever | 8-12 sec | Most of the strength of a full lever, shorter lever arm |
| 5 | Full front lever | 5-10 sec | The complete hold, legs together and straight |
How to train each step
Do front lever work early in a session, when your grip and back are fresh. Three to five sets of the current step, holding until form breaks — not until you collapse. A hip sag or bent arms mean the set is over, even if the clock says otherwise.
- 013-5 sets, 2-3 sessions per week, with at least one rest day between
- 02Hold until you feel your hips start to drop, then stop the rep
- 03Add negatives from the position above: lower slowly from a straddle into a tuck
- 04Pair with rows and pull-ups on separate days for pulling volume
When do you move to the next step?
Move on when you can hold the current position for 15-20 seconds with a flat back and straight legs (where applicable), across three clean sets. Jumping too early is the single biggest reason people stall — you end up doing a straddle with a bent, sagging hip instead of a straight one.
Common mistakes
- 01Rounding the shoulders instead of pulling them down and back
- 02Letting the hips sag below the shoulder line
- 03Training the lever only when tired, at the end of a session
- 04Skipping straddle and jumping straight from single-leg to full
- 05Ignoring straight-arm strength work like skin-the-cats and false-grip hangs
Tracking your progression
A front lever hold is one of the easiest skills to fake with a slightly bent hip or a shortened lever, which is exactly why most people plateau without noticing. Calisthenics.dk's camera-based Movement Analyzer scores your hold on the phone in real time — body line, hip angle, hold time — entirely on-device, so you get an honest read on which step you're actually ready to leave.
How the app helps you with this
Frequently asked questions
How strong do I need to be before starting a front lever progression?
Aim for at least 8-10 strict pull-ups and a 30-second dead hang first. The front lever adds a horizontal core and back demand on top of that pulling base.
How long does a full front lever take?
Most people with an existing pull-up base take 8-14 months of consistent training. Starting from zero pulling strength, expect closer to 18-24 months.
Can I train front lever every day?
No. It loads the shoulders, elbows and lower back heavily. Two to three sessions a week with rest days between is enough and safer for your joints.
Do I need rings or is a bar enough?
A bar is enough for the whole progression. Rings add instability that some athletes use later to add difficulty, but they are not required.
Keep reading
Want the plan adapted to you?
Calisthenics.dk rebuilds the programme around your level, counts your reps through the camera and corrects your form as you go — all on your own phone.